Onboarding for Team Members
To start working with Allegra, you need an account for the system.
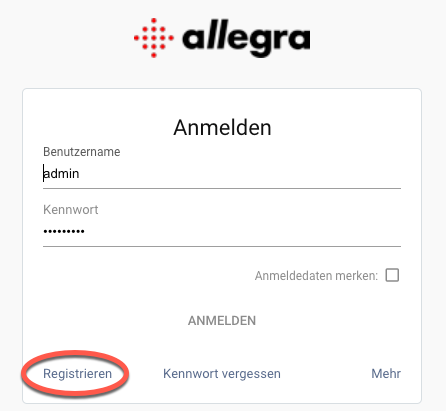
Register your account
Depending on how your installation is set up, you may get this account from a system administrator, or you might have been already registered automatically by synchronization with a directory server, or you need to register yourself.
For self-registration, go to the login page, click on the Register button and enter your data.
Note
If the Register button is not visible, then self-registration is disabled. This means that the system administrator must activate this possibility in the server administration or that self-registrations are not desired.
Registering and logging in
Before you can create tasks, tickets, etc. in the system, you must have been assigned a suitable “role” by a project manager or a system administrator for at least one project or workspace.
Note
The assignment of a role can be done indirectly as newly logged in users can be automatically added to a group that has already been assigned roles within workspaces. This behavior can be configured by the system administrator for each group.
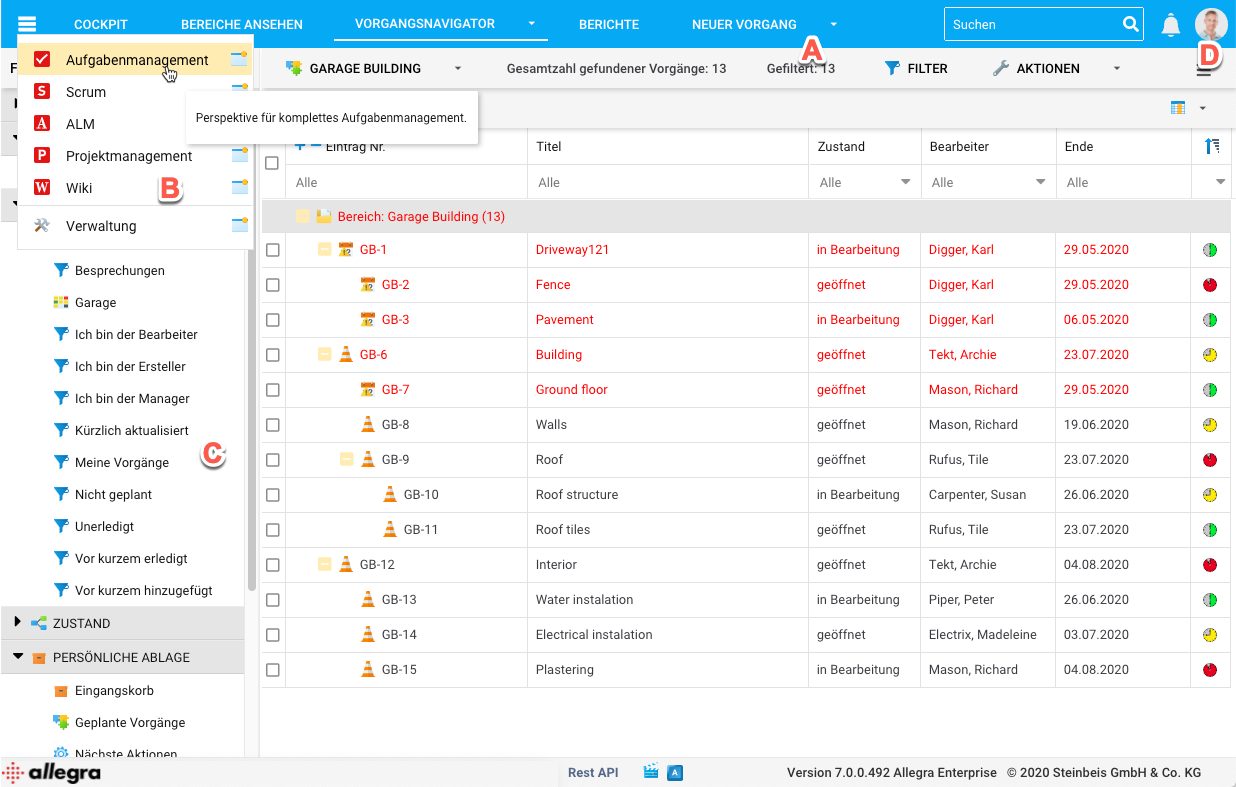
Structure of the user interface (task management)
Get to know the user interface
After logging in, you will see the user interface as you last used it. The following figure illustrates the layout of the standard user interface. You might see more or less items on your screen depending on your workspace role and your system role.
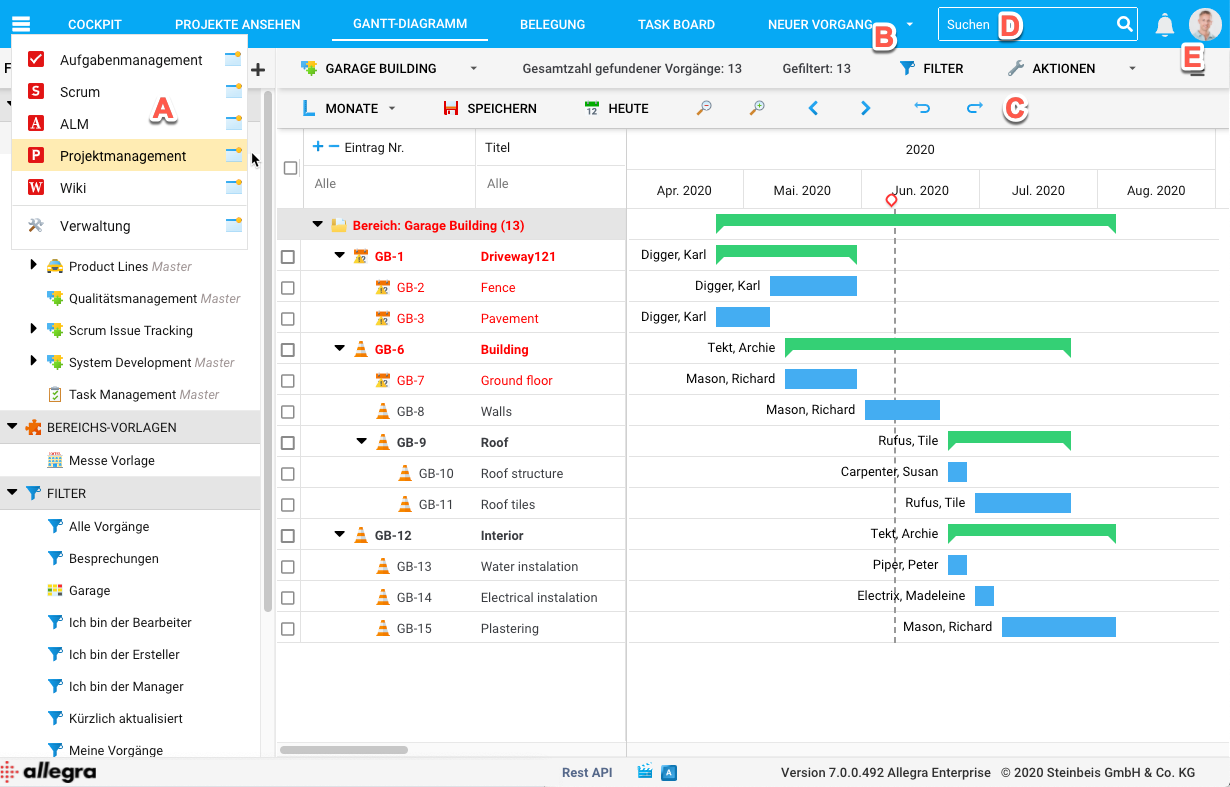
User interface structure (project management)
App menu (A): Here you select, depending on your use case, the suitable App like Scrum, Administration, or Project Management. The Apps that are offered to you depend on your license and role in the system.
Main Toolbar (B): Here you will find the main navigation elements, which depend on each particular app.
Context Toolbar (C): Some views have their own context-specific toolbar, for example, to create projects or save a configuration.
Full text search (D): The full text search allows you to find tasks based on keywords. You can also specify more complex expressions by searching for certain item attributes or performing a fuzzy search. Moreover, the full-text search can help you find document attachments.
Personal Settings (E): Here you can manage your personal settings, like the language of the user interface, the frequency of reminder emails, your profile picture, and much more.
Quick tips for new users
To create a new item, click on the button (B), select an item type, and fill in the fields in the open form.
To get an overview of all items assigned to you, go to the “Task Management” app (A) and select the “My items” filter on the left of the navigation workspace.
To change your password, language, theme colors or other personal data, click on the avatar (E) and then go to “My settings”.