Workspace-Specific Lists
In Allegra, you can configure any number of custom lists. You can make these lists available for all workspaces or only for a specific workspace. Items that contain a custom list property have one of the pre-configured values of the lists that you define.
For example, you might have lists of operating systems, drawing numbers, serial numbers, or customers. You might have a list of system components or you might simply mark items with the location where you need to take care of them.
First, you must be logged in as a room manager, system manager, or system administrator.
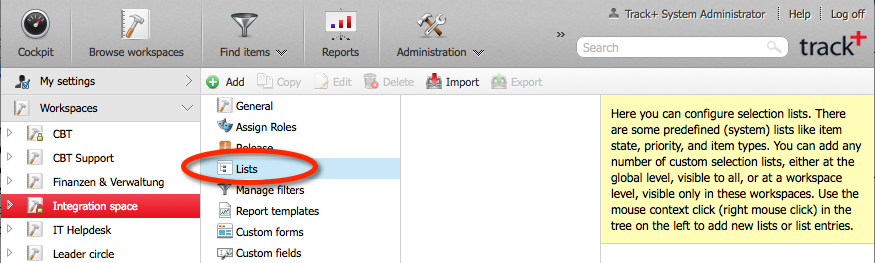
Switch to the Administration perspective. In the main menu, select “Workspaces”. Alternatively, click on the workspace bar in the left navigation pane.
In the left navigation pane, select a workspace.
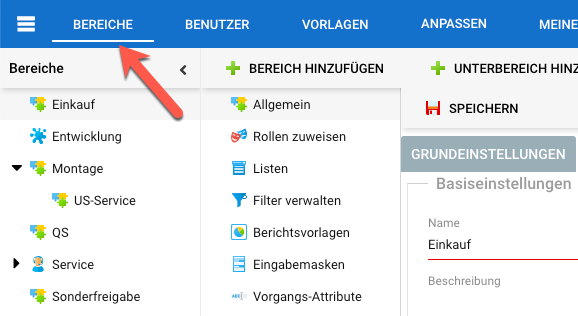
In the second navigation pane, click the “Lists” node.
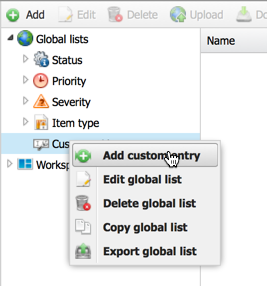
In the second navigation column, click “Global Lists” if you want to edit a list that can be accessed by all workspaces or select a workspace with the list you want to edit. Then click on the “Edit” button in the toolbar or use the context menu.
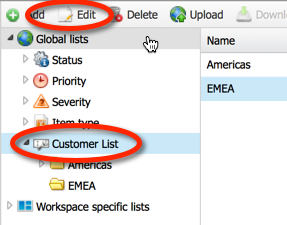
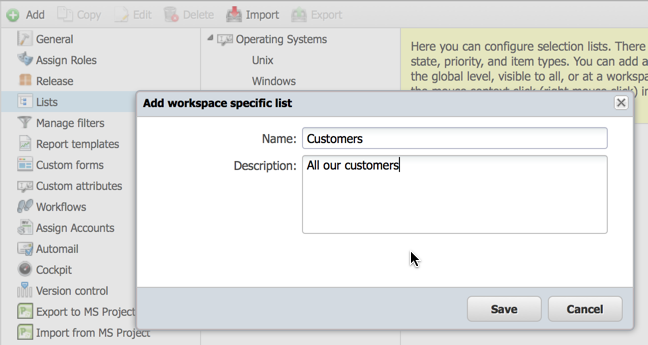
Give the new list a name or modify the existing list. Optionally, add a short description.
Select the node to which you want to add list entries or edit an existing entry. Use the context menu to add or edit an entry.
Name the new item or edit the name of an existing item, and optionally assign it an information style. The styles can be be used to control the appearance of the item in the Item Navigator. When finished, click the “Save” button.
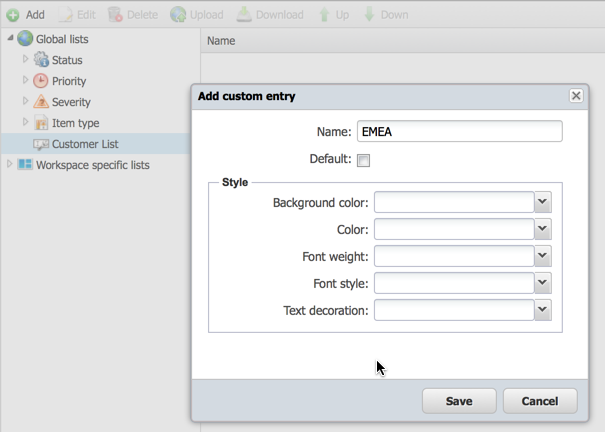
You can assign an icon (16 x 16 px, GIF, SVG or PNG) to each entry. You can also assign a CSS style to each item to format them in the Task Navigator. For example, you can use different shades of red as the background color to indicate the urgency of an item.
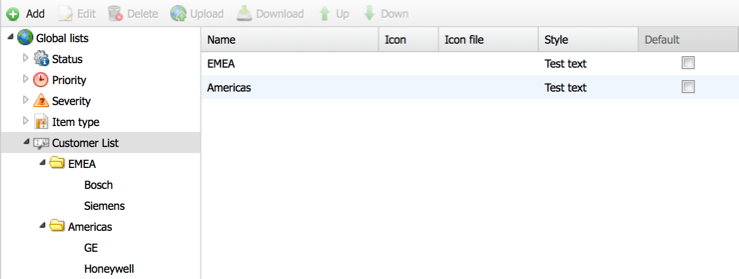
You can drag items to a different position in the list on the right. The entries are offered on the user interface in the order in which they are displayed in the table.
For a simple list, you can simply add entries under the top list node. To create a cascaded list, select a second node at the list level and repeat the process.
You have now created or modified a workspace-specific list.