Jenkins Integration
You can integrate Allegra with Jenkins continuous integration servers. This section describes how to do this.
Hudson and Jenkins are web-based tools for building, testing, and possibly installing software on a regular basis as part of a software development process.
You can integrate Jenkins with Allegra using a special Jenkins plugin. For Jenkins builds, you will be able to see in Jenkins which Allegra items were involved in a particular build. In Allegra, you will be able to see for which Jenkins builds were involved with each item and which files were affected. You will get links in Jenkins and Allegra that take you to the other application.
To best integrate Jenkins with Allegra, it is recommended that you first run both systems with an SSO system, then you go through the following steps:
Step 1: Integrate Jenkins as an application
Install the Allegra “Portals” plugin in the TRACKPLUS_HOME directory and paste the URL of your
Jenkins server to the trackplus-plugins.xml file there. This will allow you to easily switch between
Allegra and Jenkins from the Allegra main menu.
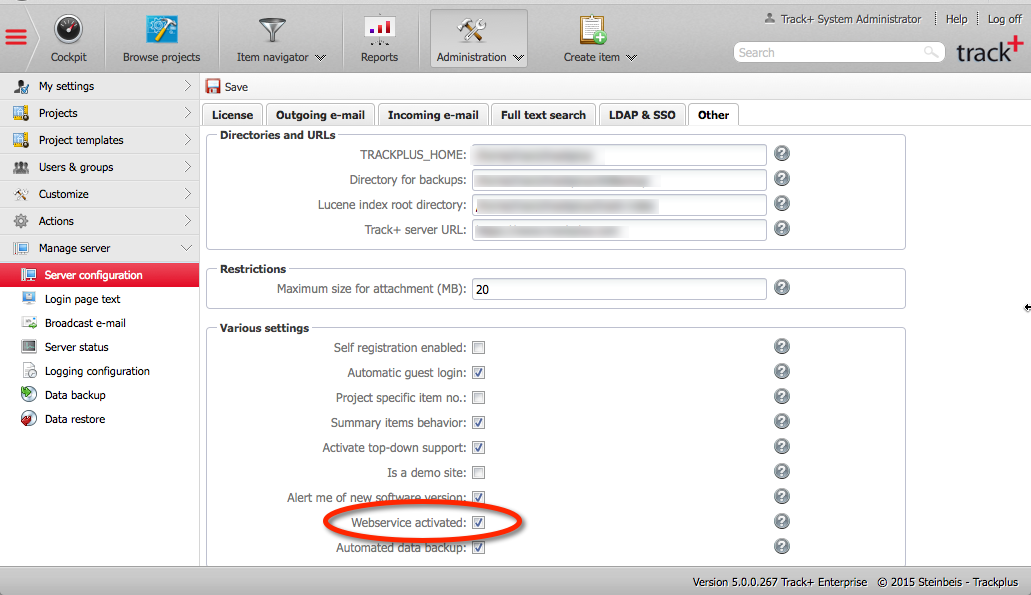
Step 2: Enable web service interface
To enable the web service interface on your Allegra server, log in as the system administrator. Go to the Administration perspective. In the main menu, select Server Administration > Server Configuration > Miscellaneous tab.
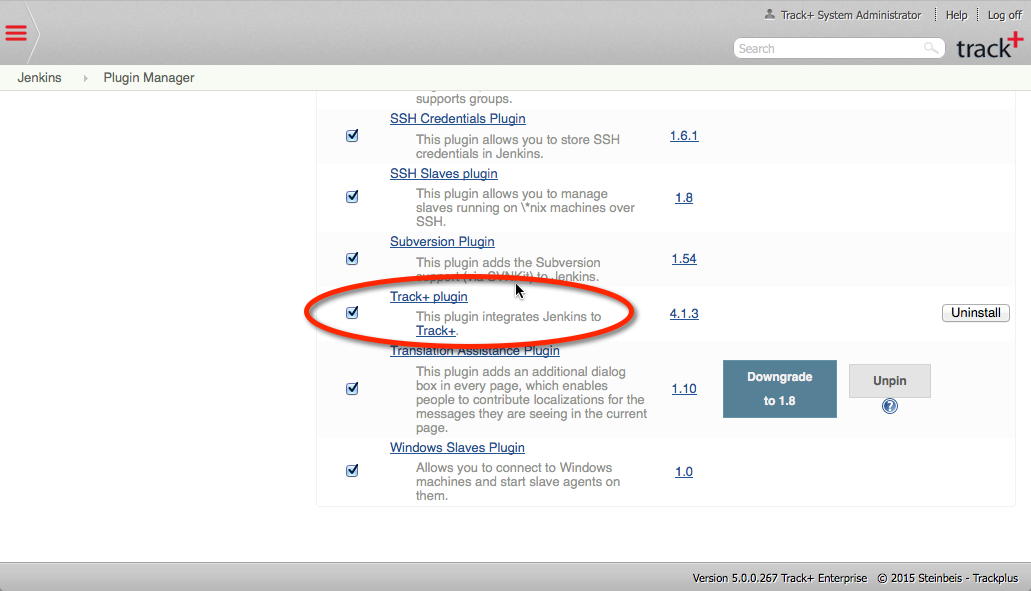
Step 3: Install Jenkins plugin
In order for Jenkins to interact with Allegra , you need to install a plug-in for Jenkins. The plug-in consists of a single trackplus.hpi file that you must copy to the plug-in folder in your Jenkins installation, as shown in the following figure. The Jenkins plug-in folder is located under <Servlet container path>/webapps/Jenkins/WEB-INF, or wherever you had previously installed Jenkins. After copying the file, you will need to restart Jenkins.
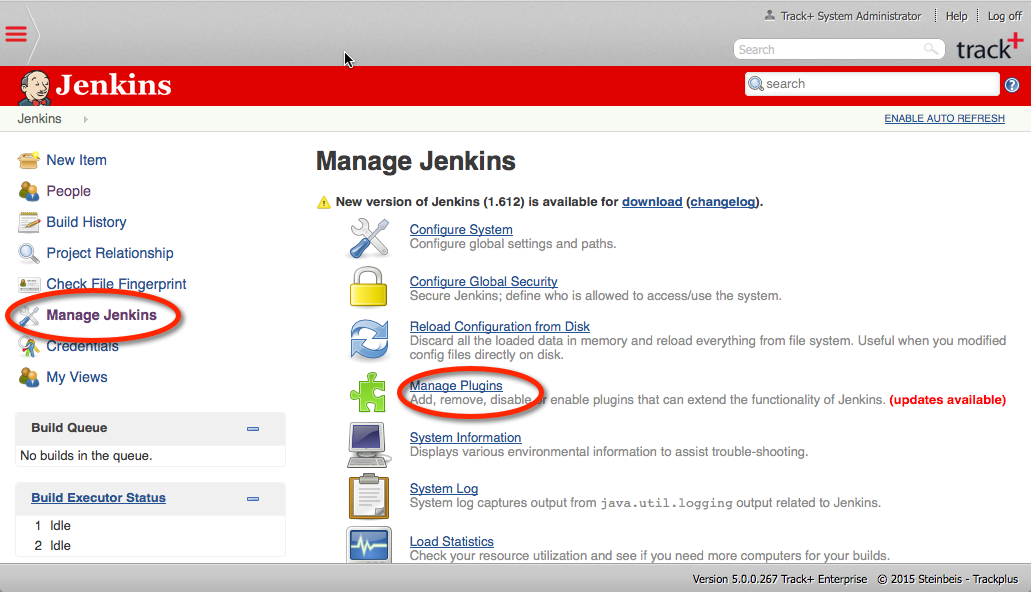
Step 4: Connect Jenkins to Allegra
You need to establish a connection between Allegra and Jenkins. To do this, you have to set up one or more Allegra connections in Jenkins. Therefore, you need to go to the Jenkins main page and select the “Manage Jenkins” link.
On the “Manage Jenkins” page, select “Configure System”.
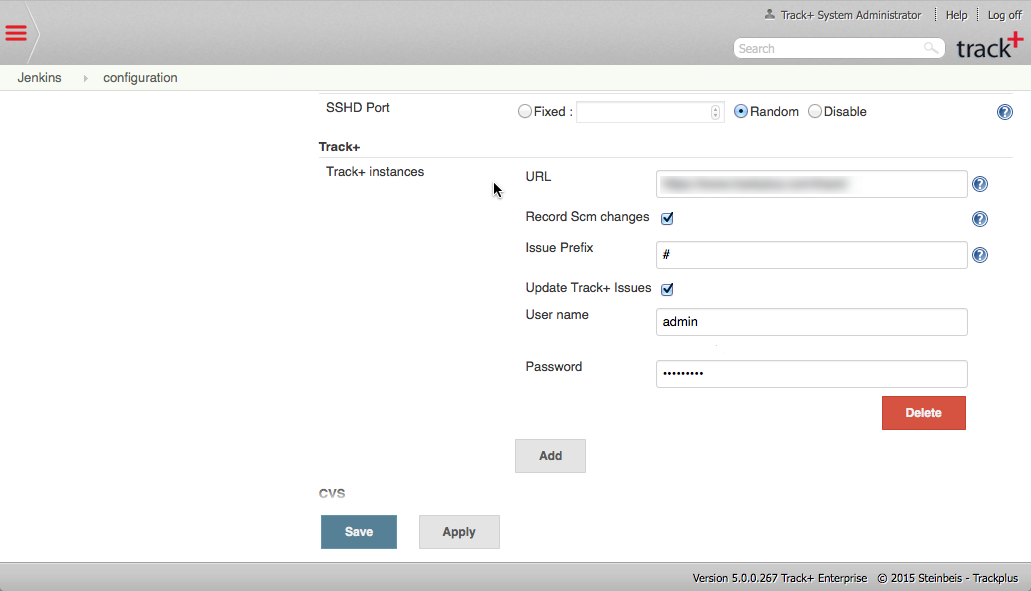
There is a section labeled “Allegra”. Here you can enter the URL for your Allegra server as well as a username and password, which will be used to add comments to Allegra items affected by a Jenkins build.
In Jenkins, you can create multiple Allegra connectors, for example, for different Allegra servers or user names.
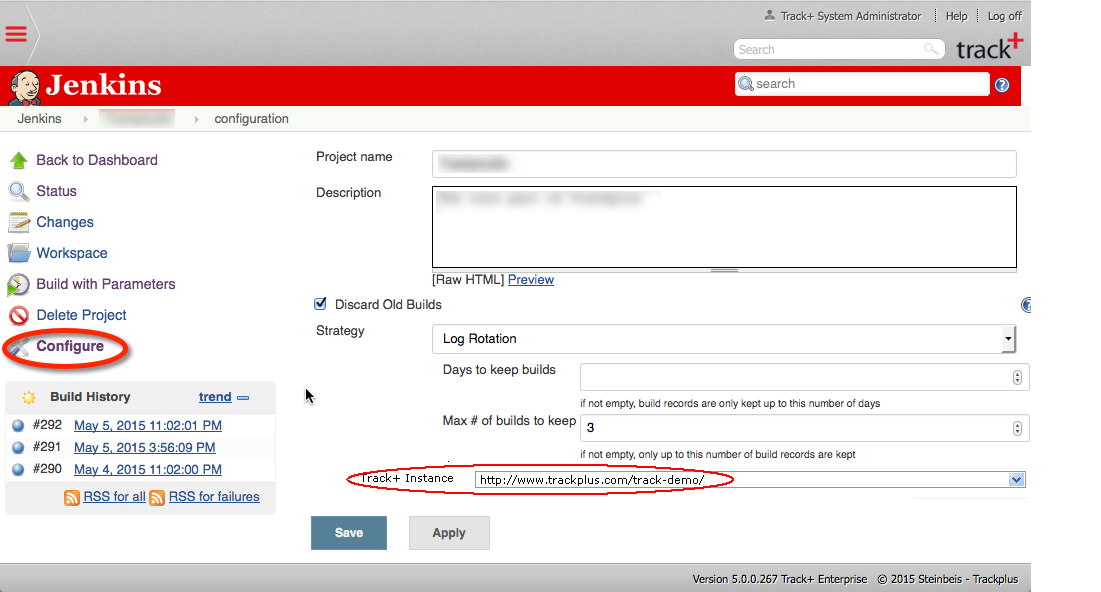
Step 5: Configure the Jenkins job
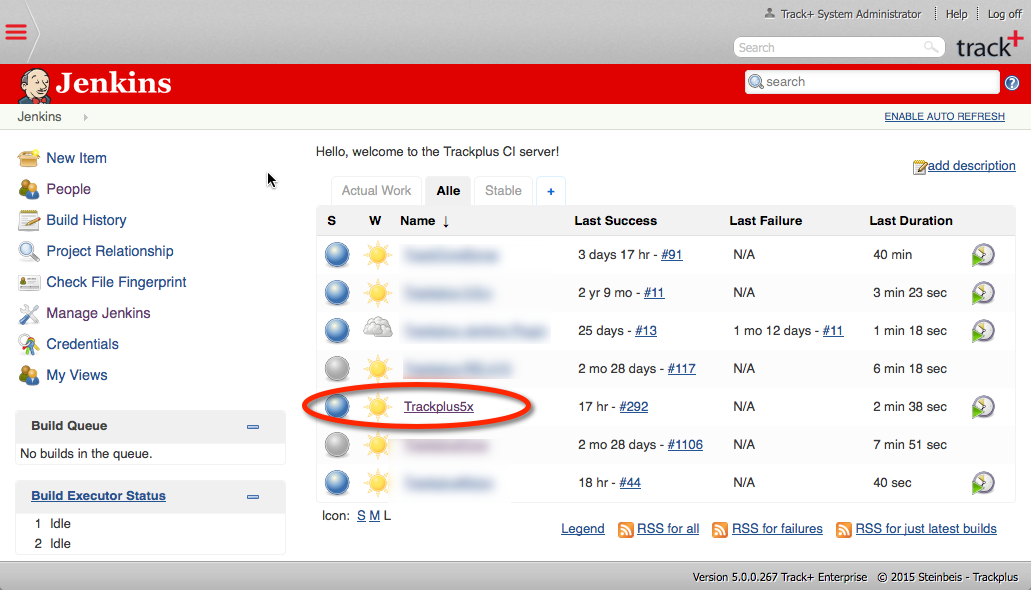
The last step is to tell Jenkins to use a specific Allegra connection for a specific job. Click the link for that job from the Jenkins main page.
From the menu on the left, click the “Configure” link. Select the correct Allegra connection and save.
Step 6: Use the newly configured Jenkins integration
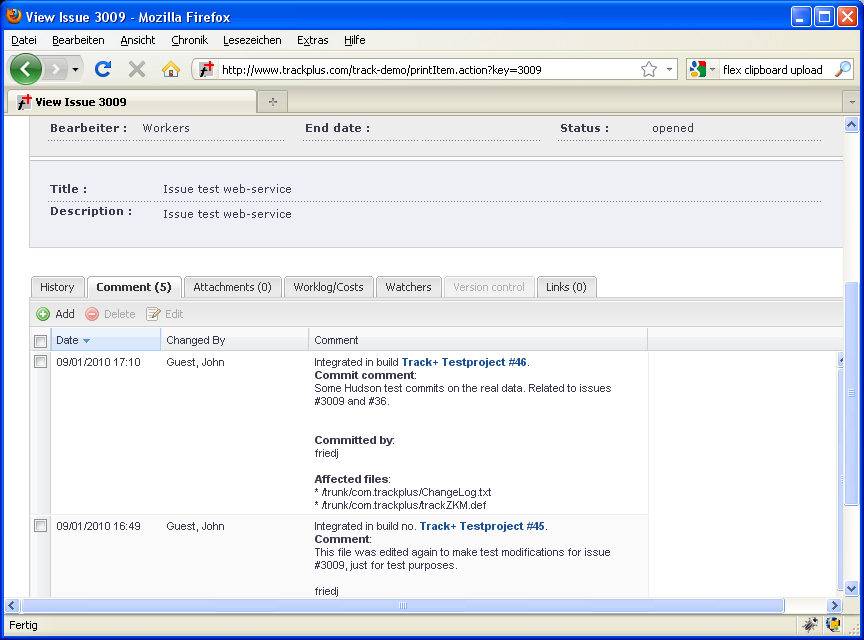
The connection between Jenkins builds and Allegra items is created via Allegra item numbers found in Subversion commit comments, prefixed with a hash mark, such as “3009”.
When you click on the item number in the Jenkins build, the browser will take you to the Allegra item. Similarly, the link in the Allegra item comment will take you to the associated Jenkins build.