Workflows
You can define workflows that specify who is allowed to perform state transitions for items and what happens when such state transitions occur. You can associate scripts with workflow state transitions that perform arbitrary actions and checks.
To add or edit workflows, go to Administration > Customize > Workflows.
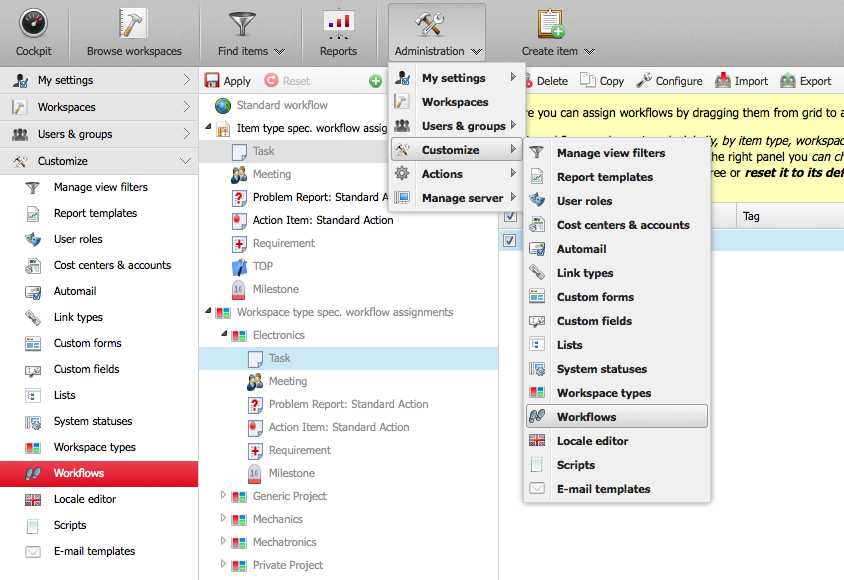
In the second column from the left, you can see the default hierarchical configuration scheme. You can assign workflows to item types, workspace types, and workspaces by dragging them from the grid on the right to the corresponding node on the left. Workflows are assigned from global assignments to the most detailed assignment for a specific item type in a specific workspace.
You can override a workflow at a lower level by assigning another workflow there. You can return to the inherited assignment by resetting this node.
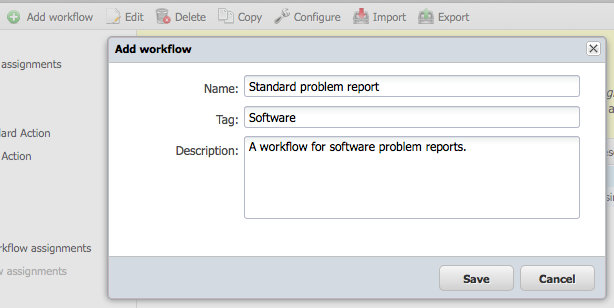
To add a workflow, click on “Add” in the small toolbar. Enter a name, an optional tag if you have many and want to group and categorize them, and an optional description. Then save the workflow.
To define the workflow, select in the grid and click on “Configure” in the small toolbar. A graphical editor window will open.
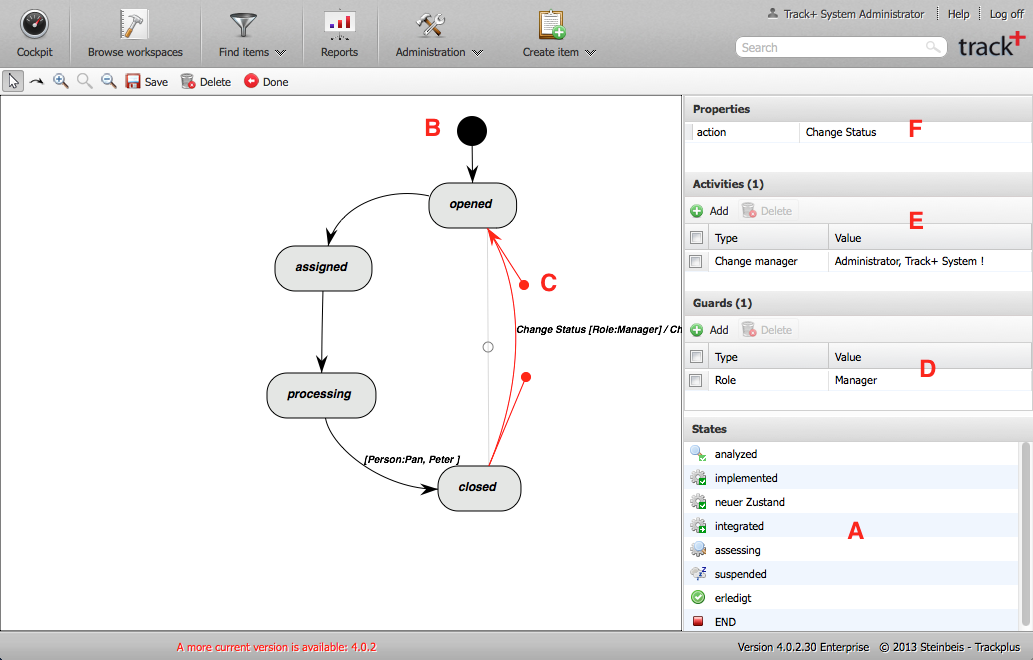
To begin, you will drag a set of states from workspace A to workspace B. There is a special starting state that is outside the regular state set. The transition from this start state to another state in your Workflow Diagram occurs when an item is created. This is useful if you want to assign this item first to someone who depends on task data such as keywords or tags. This also works when creating items via email.
You can connect states using transitions. To draw a transition, select the transition icon on the small toolbar, click the source node and drag the line to the destination node. You can change the shape of the transition by dragging its handles (shown as “C” in the figure above).
You can link a transition with three elements:
An event that triggers that transition
Activities that are performed during the transition
Conditions (“guards”) that can prevent the transition
The following section describes these elements in more detail.
Triggering event
A transition is triggered or initiated by a triggering event. The following events are predefined in Allegra:
An explicit user action * Edit an item * Change the status of an item * Copy an item * Move an item to a new item type or room * Add a subordinate item
A timeout based on the last explicit user action
A timeout based on the last status change
A state change action requires that the source and target states are different. In all other cases, the source and target states can be the same. For example, you could run checks on an item as it is processed. Or you could automatically change an item attribute when the processor is changed. Or you could automatically change the assignment of the agent for a subordinate item. In principle, there is no limit to what you can do when an item is changed.
You link a triggering action to a transition by first selecting the transition (C) and then selecting the action (F).
Conditions (“Guards”)
Once a transition is triggered, an optional guard condition must be met for the transition to actually occur. If the guard condition is false, the transition is rejected. You link a protection condition to a transition by first selecting the transition (C) and then adding the desired protection conditions (D).
There are a number of guard conditions:
A role that the person initiating this transition via an action must have in the workspace to which the item belongs
A specific person
A guard script for the workflow
An automail condition (see Notification Conditions).
If you specify a set of safeguards, the transition is performed when one of the safeguards is met.
Activities
When a transition is taken, the associated activities are performed. You link transition activities to a transition by first selecting the transition (C) and then adding the desired activities (E).
There are a number of transition activities possible, including:
Changing any item property, such as owner, manager, or status
Sending an email based on an email template
Running a workflow activity script
With a workflow activity script, you can basically do anything you can think of: create child items, copy project templates, etc.
When you select a change activity for an activity attribute, you can enter a parameter into the workflow instead of a concrete value. If you assign such a workflow to a workspace, an item type, or a workspace type, you can then assign a real value.
States
A workflow is mainly described by states and transitions between states. In addition to the states that you have defined in your system, there are two further states that are available in the workflow editor.
The initial state is the state in which an item is after it has been created and before it has been saved. For example, if you allow items to be created by email, you can add conditions and activities to this transition that, based on the sender’s email address, would assign the item to a specific workspace or responsible.
The transition to the final state occurs when an item is deleted. This is not possible at the moment.