Manage Input Forms
This section describes how to create, assign, modify, and delete input templates.
Assigning forms to actions
This section describes how to assign a form to an action.
You must be logged in as a system manager or system administrator.
Switch to the Administration perspective. In the main menu, select Customize > Input Forms.
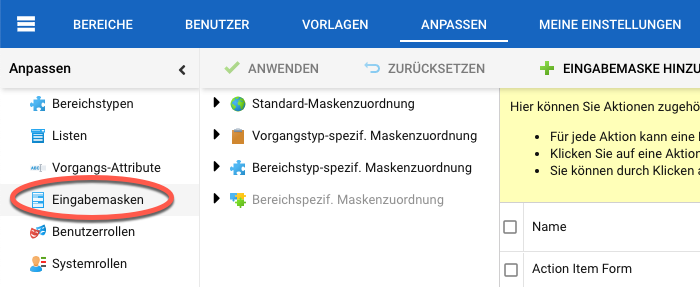
In the tree workspace, select the node to which you want to assign a new form. You can select the action at the global level, item-specific, workspace type specific, or workspace specific. In this example, we will change the assignment only for the item type “Action Item” for creating, editing, and moving items.
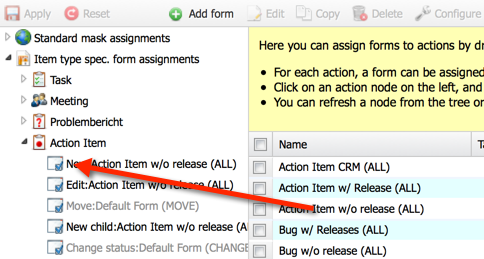
Drag the desired form to the appropriate node in the tree structure and drop it there.
If you create a new action item in a workspace, you will not get the standard “New Item” form, but the changed form without the release field.
Create forms
This section describes how to create a new form.
You must be logged in as a system manager or system administrator.
Switch to the Administration view. In the main menu, select Customize > Input Forms.
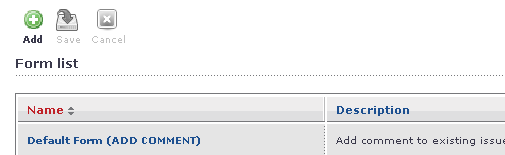
A new screen will appear. Click the “Add” button on the toolbar.
Give the new form a name and a description.
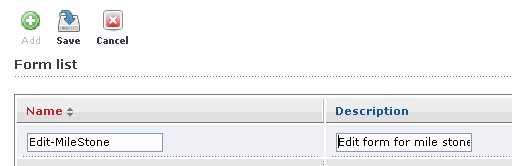
Click on the “Save” button on the toolbar. Then click on the “Edit” icon in the action column on the right.
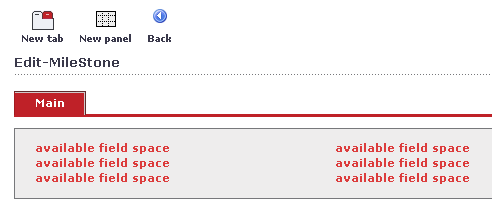
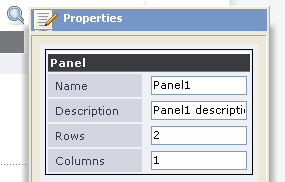
The interactive form designer is displayed with the new form. This designer supports drag & drop. Click in the top panel to select it. In the properties panel, the properties of the panel are displayed. You can move the properties window to a suitable location in the main browser window by selecting the blue bar and dragging the window to a new position.
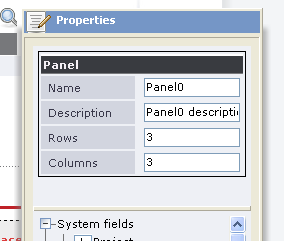
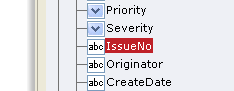
Keep the default of 3 rows and 3 columns for this display. To add a field to a location, select the field from the field list in the properties window. Here you have selected the itemId.
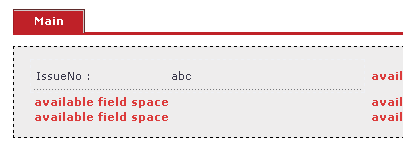
Drag the selected field to its position in the panel and drop it there (left mouse button in the field list, drag it to the position, release the mouse button).
Repeat the same procedure for some more fields. You can leave empty spaces. You can also fill fields with multiple rows or columns. You can add a new panel by clicking the panel button on the toolbar. You can drag a panel to another position.
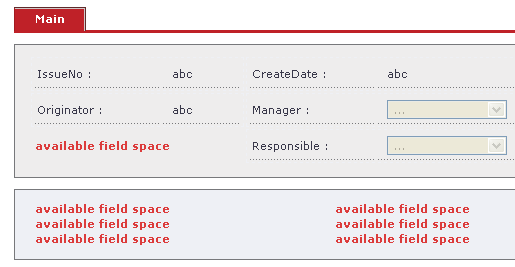
Change the number of rows and columns for the new panel to two rows and one column.
Add a description field. These fields are quite large so you need to give them more space by using only one column for the whole width.
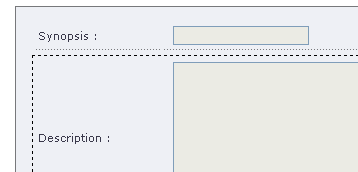
Add the remaining fields.
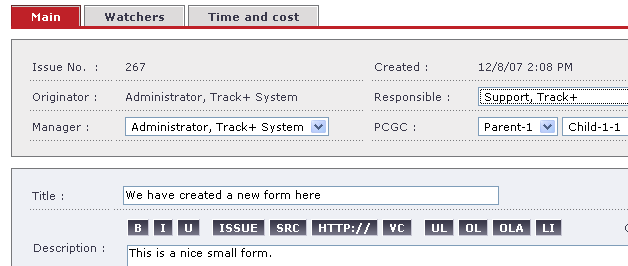
Assign the new form to an action. To do this, go to Customize > Custom Forms > Forms Assignment. When you call up the action, you will see your newly designed input form. You can change the layout of your new form at any time.
Change forms
This section describes how to modify existing forms.
You must be logged in as a system manager or system administrator.
Switch to Administration. In the main menu, select Customize > Input Forms.
A new screen will appear. Click on the “Edit” icon in the action column on the left for the form you want to edit. The interactive form designer is displayed.

Delete a field from a panel. Select the field with a left click. Open the context menu with a right mouse click.
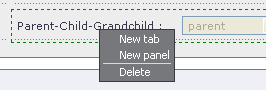
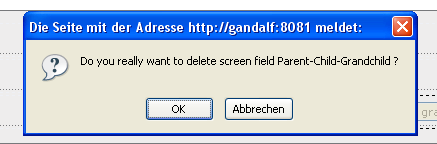
Click on “Delete” in the context menu. Confirm the action in the dialog box that appears.
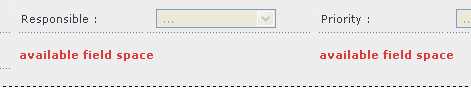
The field has now been deleted from the form and the space is available for another field.
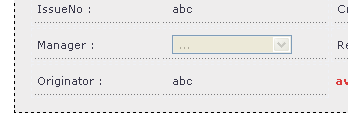
Move a field to a new position using drag & drop. In this example, move the “Manager” field to the “Author” field and drop it there.
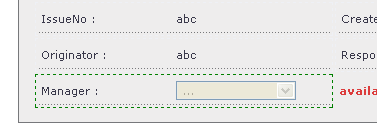
The author field position is now taken from the manager field position and vice versa.
Add a new tab by clicking on the “New Tab” button on the toolbar.
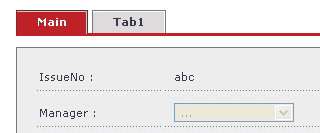
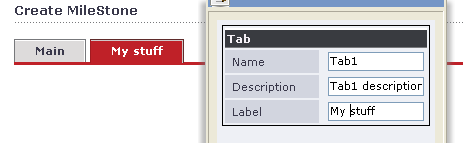
Click the new tab to select it. In the properties panel, change the label of the tab.
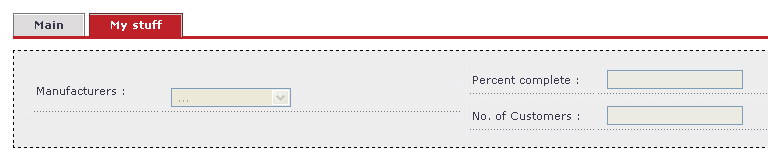
Add a panel to the new tab and change the number of rows and columns to 2. To do this, select the panel and change the row and column parameters in the “Properties” dialog box.

Add two custom fields, one multiple-selection field and two regular fields. More vertical spacing is required for the multiple selection. Therefore, set the row range to 2. To do this, select the field by clicking it in the workspace of the panel. Then go to the Properties window and change the “Row Range” parameter.
When you are finished, click the “Back” button on the toolbar.
You have changed the form. Whenever the corresponding action is called, the new form is used.
Copy forms
This section describes how to copy a form.
You must be logged in as a system manager or system administrator.
Switch to the Administration view. In the main menu, select Customize > Input Forms.
A new screen will appear. Click the “Copy” icon in the action column on the left for the form you want to make a copy of.

You have created a copy of the original form. You can now edit this new form without changing the original form.
Delete forms
This section describes how to delete a form.
You must be logged in as a system manager or system administrator.
Attention
You can only delete forms that are no longer in use. If a form is still, there’s no delete icon displayed.
Switch to the administration view. In the main menu, select Customize > Input forms.
A new screen will appear. Click on the “Delete” icon in the action column on the left for the form you want to delete.
The form has been deleted from the system.