Working with the Gantt Chart
The interactive Gantt chart is well-suited for displaying and editing the chronological progression of a plan, determining dependencies, and visualizing the progress of a project. In the Gantt chart view, you can create and manage the actual plan and compare it with the baseline plan.
To create or edit a project plan, go to Perspective Project Management > Gantt chart.
Important: For the plan, use only the item type “Task” or another item type with the type flag “Task”. Other item types are not displayed in the Gantt view.
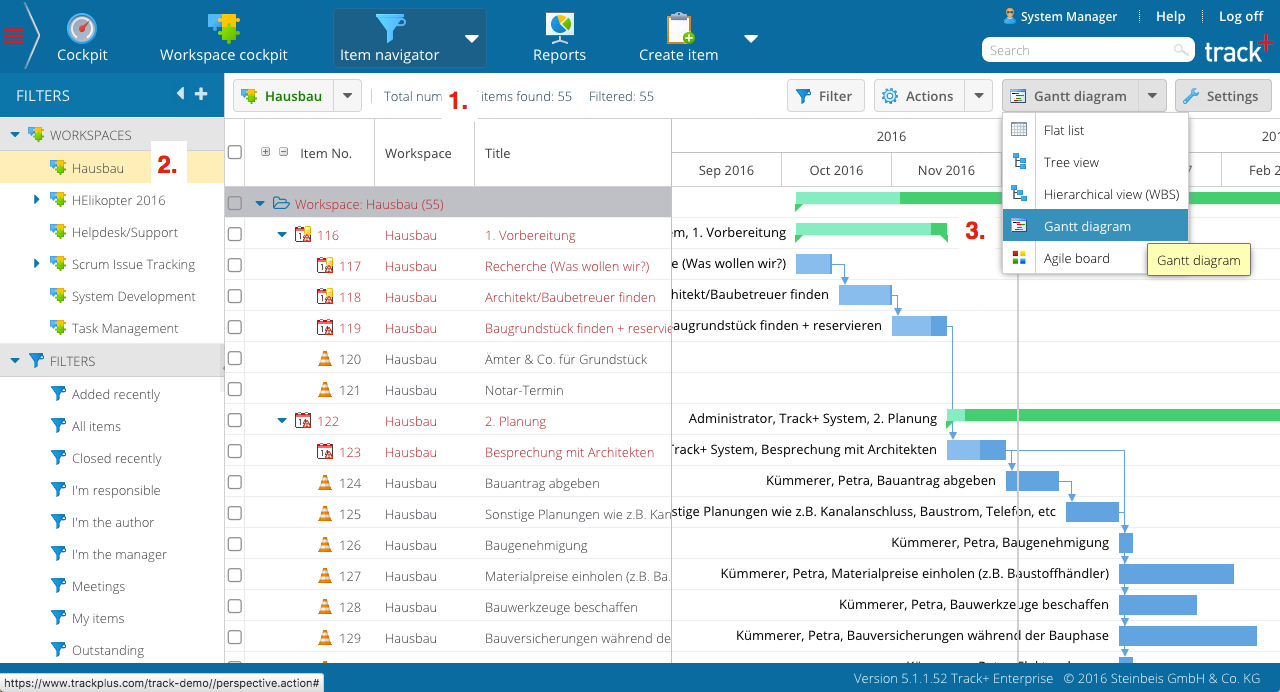
Click on Gantt view in the main menu. On the left side, select the workspace you have created earlier for your new project.
Note
To use the Gantt view, this view must be created for the user in the user management page (see Manage Regular Users).
Focus and scale
You can focus the diagram on a specific item by selecting it in the table on the left and clicking on the item number.
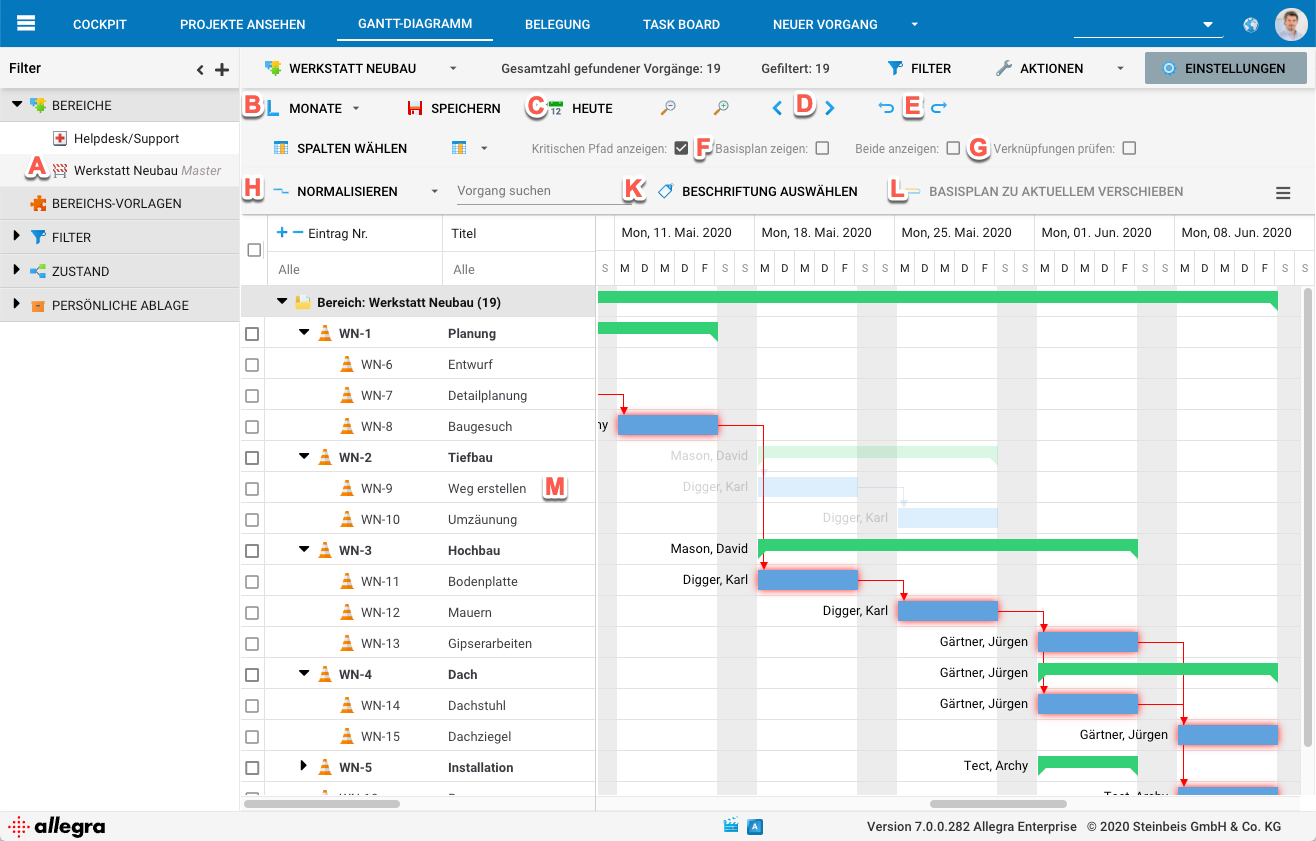
The “Today” button in the settings workspace (C) allows you to focus the Gantt chart on the current date. on the current date.
The time range selection (B) allows you to scale the time axis.
Create item
To create an item, click the “New Item” button on the top toolbar.
Select your new project and the item type “Task”.
Enter a title and fill in the other fields as needed. The save the item.
For other items, select the first item in the list. Use the key combination CMD + or whatever you use in Excel to add a new task directly under another task. Fill in the details directly in the table workspace. You may want to rearrange the columns to show the ones you need most.
You can create subtasks using the context menu of the items in the table pane to select the task for which you want to create a subtask.
Change task hierarchy
You can rearrange tasks by dragging & dropping them in the table workspace.
Change appointments
You can change the start date, the start and end date, or just the end date of a task by clicking and dragging either the left end, middle end, or right end of the tasks. Weekends and other days off of the assigned agent are taken into account. When you change the dates of parent tasks, all the child tasks are also moved.
The default configuration is that you change the schedule. To change the base schedule, open the configuration of the Gantt chart with the “Settings” button on the top right and select “Show Base Plan” (F). This is only possible if the “Top-Down Behavior” is activated in the Administration perspective, see Server Administration > Server Configuration > Other. You must also have the “Schedule Start” and “Schedule End” attributes on your input screens.
To add item dependencies, click on the right end of the originating item and drag the line to the left end of the successor item. When you’re done, save your plan using the “Save” button at the top of the toolbar.
Mark critical path
To mark the critical path, open the settings workspace of the Gantt chart in the top right corner and select the “Show Critical Path” check box (F).
Remove unnecessary delays (Normalize)
To correct unnecessary delays or incorrect end-start relationships, press the “Normalize” button (H). By default, only items with a future start date will be taken into account. If you expand the “Normalize” button, you can also normalize items that have already started.
Label items
To label items on the chart, click the (K) “Select Label” button.
Fit base plan to chart
To move the base schedule appointments to the currently occupied plan appointments, click on the “Move Base Schedule to Current” button (L).
Unfix individual appointments
You can temporarily remove the fixing of individual appointments via the context menu so that they can be moved.
Print Gantt chart
To print the Gantt chart, go to Actions > Print. Set the print as desired.